How to Make a Scrunchie: Easy DIY Tutorial for Beginners
Share
Want to create your own beautiful scrunchies at home? Making a scrunchie is a fun, beginner-friendly sewing project that takes just minutes. Whether you're crafting for yourself or creating handmade gifts, this step-by-step guide will show you exactly how to make a scrunchie from scratch.
What You'll Need
Before you begin, gather these simple materials:
- Fabric: A strip measuring 40 inches long by 5 inches wide (satin, velvet, or cotton work beautifully)
- Elastic: 8-10 inches of 1/4-inch or 3/8-inch wide elastic
- Sewing machine or needle and thread
- Scissors
- Pins
- Safety pin (for threading the elastic)
Step-by-Step Instructions
Step 1: Prepare Your Fabric
Cut your fabric to 22 inches long by 3.5 inches wide. If you're using a patterned fabric, make sure the pattern is facing the direction you want when the scrunchie is finished.
Step 2: Create the Fabric Tube
Fold the fabric in half lengthwise with the right sides (the pretty side) facing each other. Pin along the long edge to hold it in place. Sew a straight seam about 1/4 inch from the edge, creating a long tube. Leave the short ends open.
Step 3: Turn the Tube Right-Side Out
Carefully turn your fabric tube right-side out so the seam is on the inside and the pretty fabric is showing. You can use a safety pin attached to one end and work it through the tube, or use a chopstick or pencil to help push the fabric through.
Step 4: Thread the Elastic
Attach a safety pin to one end of your elastic. Thread the elastic through the fabric tube by pushing the safety pin through. Be careful not to let the other end of the elastic slip into the tube—you might want to pin it to the fabric opening.
Step 5: Secure the Elastic
Once the elastic is threaded through, overlap the two ends of the elastic by about 1/2 inch and sew them together securely. You can hand-stitch or use a sewing machine with a zigzag stitch for extra strength.
Step 6: Close the Fabric Tube
Tuck one raw edge of the fabric tube into the other, creating a clean finish. Pin in place, then hand-stitch the opening closed using a slip stitch or ladder stitch for an invisible seam. Alternatively, you can machine-stitch close to the edge.
Step 7: Adjust and Enjoy!
Distribute the fabric evenly around the elastic, creating that signature scrunched look. Your handmade scrunchie is complete!
Tips for Perfect Scrunchies
- Fabric choice matters: Satin is gentle on hair and reduces frizz, velvet adds luxury, and cotton is durable for everyday wear
- Adjust the size: For a fuller scrunchie, use a longer fabric strip (up to 30 inches); for a slimmer one, use 18 inches
- Pre-wash your fabric: This prevents shrinking after your scrunchie is made
- Practice makes perfect: Your first scrunchie might not be perfect, but you'll improve quickly!
Why Make Your Own Scrunchies?
DIY scrunchies are perfect for:
- Using up fabric scraps from other projects
- Creating custom colors to match specific outfits
- Making thoughtful handmade gifts
- Learning basic sewing skills
- Enjoying a relaxing, creative hobby
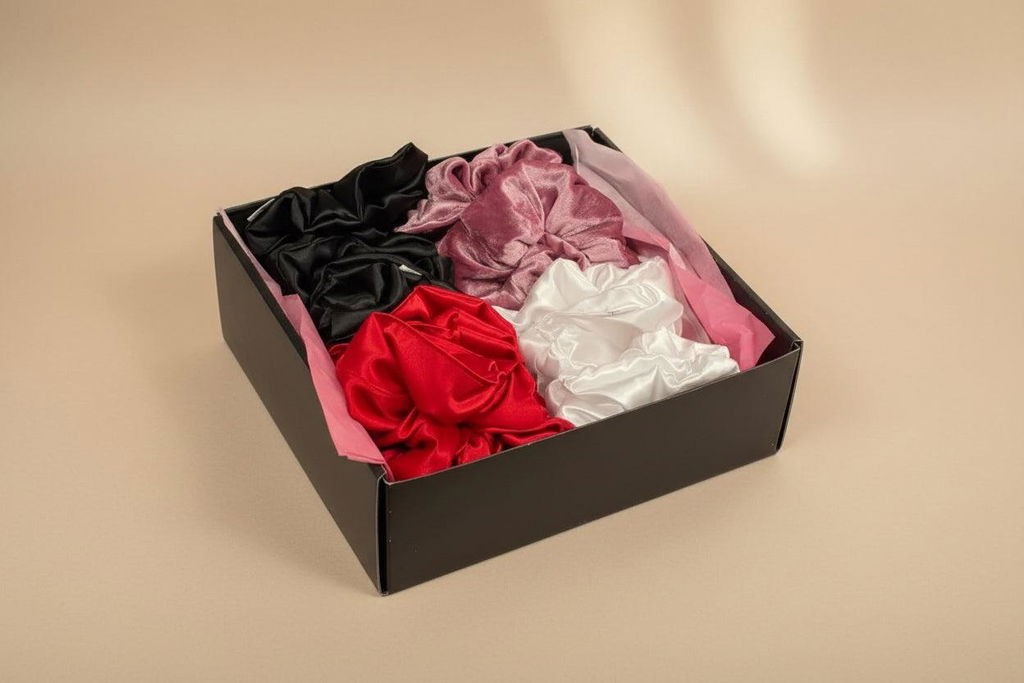
Prefer Premium Handmade Quality?
While making your own scrunchies is rewarding, there's something special about professionally crafted pieces. At Certified Scrunchie Inc, each scrunchie is handmade with meticulous attention to detail using premium satin, velvet, and cotton fabrics.
Our scrunchies feature reinforced stitching, perfectly balanced elastic tension, and luxurious materials selected specifically for hair health and longevity. Whether you're a DIY enthusiast or prefer ready-made perfection, we celebrate the art of quality scrunchie craftsmanship.
Explore our premium collection and discover the difference that expert craftsmanship makes!